Drag and Drop - Information
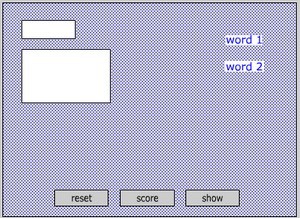
Here is what we are aiming for at the end of this section.
If you would rather work from paper - download a pdf of this page from here.
Assuming that you have the drag_and_drop.fla file downloaded to your local drive and loaded into the editor, start by saving it as coastal_features_1.fla preferably in an appropriately named work folder to preserve the template and ensure that your work is organised.
Next, download the image we are going to use with this link and save it in your work folder. Alternatively, sort out your own image for your own activity, ideally resized to 550 x 400 pixels and saved to the work folder for this project.
The image is going to sit in the background so the next step is to import it into the movie.
- Click onto frame 1 of the background layer.
The background already has
a border and a fill and they will both be selected.
- Single click somewhere off the stage
and then back on to the fill so that it stays
selected (shaded) but the border is not selected
(see image right).
- Tap
the delete button on the keyboard,
this will get rid of the fill. We are going
to replace it with the image but we want to
leave the border to sit around it.
- We want the
border to sit on top of the image so click
on frame 1 of the background layer
again to select the border and then hold down
the Ctrl key as you tap G.
This will group all 4 lines into one item and
allow us to arrange it on top of the image
later on.
- Make sure that the background layer
is still selected and then select File > Import... and
then navigate to and select the coastal_features.jpg image
you saved in your work folder. It will be placed
on the stage in the background layer.
Flash generally places imported items in the centre of the stage. If this is not the case, click on the image and check its X: and Y: coordinates in the properties window. The properties window should be at the bottom or side of the screen, if not, you can open it from the Window menu. Type in zero for each property.
- Finally make sure that the image is selected
and then select Modify > Arrange >
Send to back. This will place
the image behind the border.
- That is all we are going to do with the image so lock it by clicking once on the lock / unlock option button on the background layer in the layers window (see image right).
![]()
It is worth noting that placing a jpeg in a Flash movie has some potential problems.
Flash movies can be easily resized in the browser but resized jpegs will tend to lose their quality, particularly if they are stretched.
Images will increase the size and therefore the download time of the movie. This is why you are advised to resize any images to the size you want them (e.g. the stage size) before importing them. You can use the Free Transform Tool in flash to resize images but this will probably lead to a loss of quality and a bigger movie file because resizing does not reduce the size of the original imported image.