Organising the movie
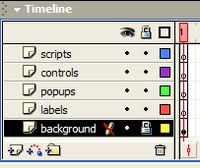
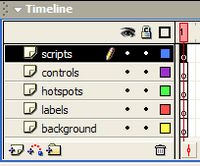
| Launch Flash and maximise the window. Double-click on the label for Layer 1 and rename it to scripts. Create 4 more layers, naming them hotspots, labels, controls and background. Drag the layers by their icons so that they are in the order shown. The advantage of all this organisation is that each element of the movie is clearly defined and can be manipulated independently. |
 |
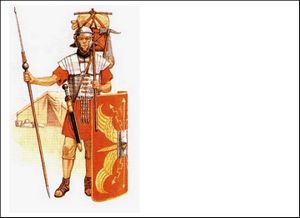
Click into Keyframe 1 of the layer background. Import the soldier.jpg image to the stage. It should fit nicely in the middle of the 550 x 400 default stage size. If you need to change the stage size, click on an empty bit and alter its size in the properties pane. Nudge or drag the image across to the left of the stage. Then click on the lock/unlock option in the background layer. A closed padlock icon will appear in the layer's information area and the image will then stay where you put it unless you unlock the layer. You cannot accidentally alter it. Locking layers does not alter their appearance in the movie but it does save you a lot of time rescuing objects that have been deleted or moved! The show/hide option beside it is also worth experimenting with when the stage gets a bit cluttered. |
|